Install Jitsi-Meet
Video conferencing server
You may want to watch this installation video online, and read this official Quick Start Guide, to supplement these instructions as well.
Be sure to use the Fully Qualified Domain Name (FQDN) when installing Jitsi-Meet (ie. meet.yourdomain.ca) otherwise, you will not be able to access Jitsi from the Internet. If you use your local IP address, you can only access Jitsi Meet from within you network and only with your local IP address.
Add the Jitsi keys:
|
$ sudo apt-add-repository universe $ sudo apt-get install apt-transport-https $ wget -qO - https://download.jitsi.org/jitsi.org/jitsi-key.gpg.key | sudo apt-key add - |
Add Jitsi Repository:
|
$ sudo nano /etc/apt/sources.list.d/jitsi-stable.list deb https://download.jitsi.org stable/ |
Ctrl-O to save and Ctrl-X to exit
If you plan on using your own SSL certificate (that you created and certified with a commercial certificate authority, place and name the certificate and keyfile in the following locations with your Jitsi domain name before installing Jitsi-Meet. The installation will find these and reference them.
/etc/ssl/meet.yourdomain.ca.crt
/etc/ssl/meet.yourdomain.ca.key
Install Jitsi-Meet:
|
$ sudo apt-get update $ sudo apt-get install jitsi-meet |
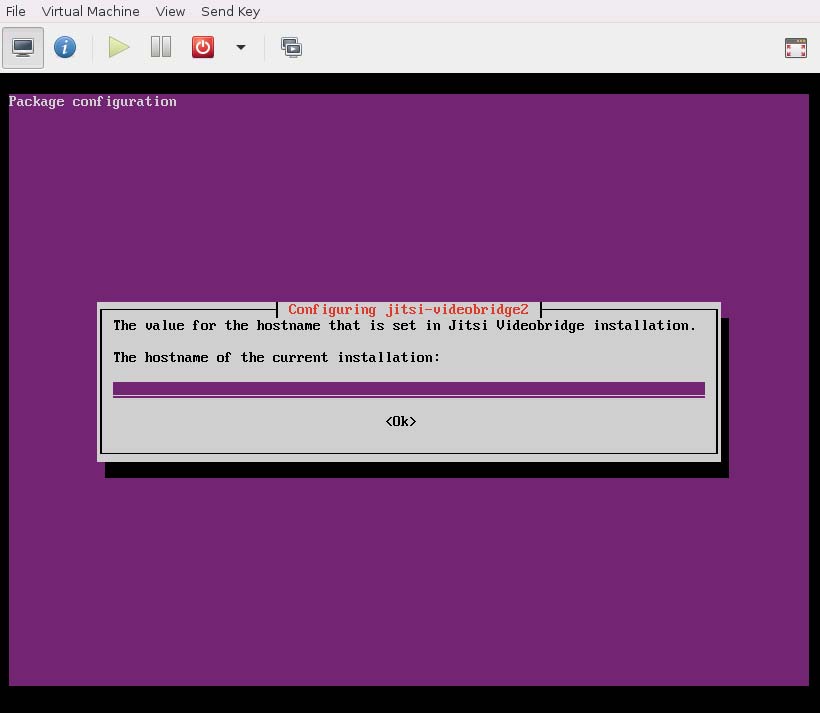
When given a chance to specify the Hostname of your Jitsi-Meet, please use the Fully Qualified Domain Name (FQDN) that you set up previously (ie. meet.yourdomain.ca)
When prompted for "Configuring jitsi-meet-web-config", you can choose to use Let's Encrypt to generate a free SSL certificate that you can use to secure your Jitsi server (you must use an SSL certificate for WebRTC video to work on Jitsi Meet), or you can use your own certificate. If you use Let's Encrypt, then choose to "Generate a new self-signed certificate". For this option, your Firewall/Router needs to have your external ports 443 and 80 redirected to your local IP address of your Jitsi server. This allows Let's Encrypt Certbot to access and verify your server instance in order to install an SSL certificate.
Install SSL Certificate
Instead of using the Jitsi Meet install-letsencrypt-cert.sh script, consider installing Certbot manually (which you may need to know how to reinstall if you upgrade your Ubuntu server in the future, which may remove Certbot).
Redirect unencrypted http traffic (port 80) to https (port 443):
|
$ sudo ls /etc/apache2/sites-enabled $ sudo ls /etc/apache2/sites-available $ sudo nano /apache2/sites-enabled/000-default.conf Redirect / https://meet.yourdomain.ca/ |
Note: Be sure to add the trailing forward slash / to the end of your redirect URL
Install Certbot:
|
$ sudo add-apt-repository ppa:certbot/certbot $ sudo apt-get install python-certbot-apache $ sudo certbot --apache -d meet.yourdomain.ca |
Note: You may need to install a different Certbot package if you used NGINX as the web server
Enable Certbot to autorenew SSL certificate:
|
$ sudo crontab -e 0 0 1 * * /usr/bin/certbot renew |
Ctrl-O to Save and Ctrl-X to Exit
Start using your very own Jitsi Meet server!
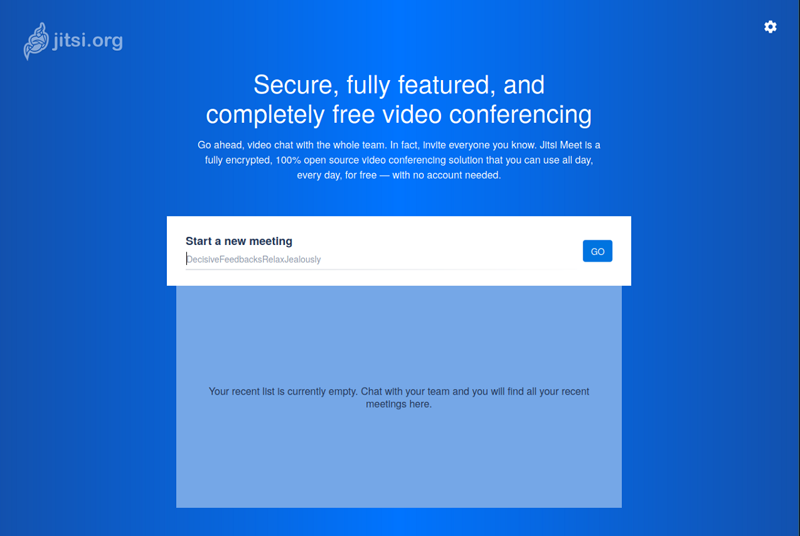
Open a web browser and go to https://meet.yourdomain.ca
You should see a blue Jitsi Meet welcome page. Your done! YAY!
You may also be interested in connecting VoIP to your Jitsi:
Read Next: Install Jigasi